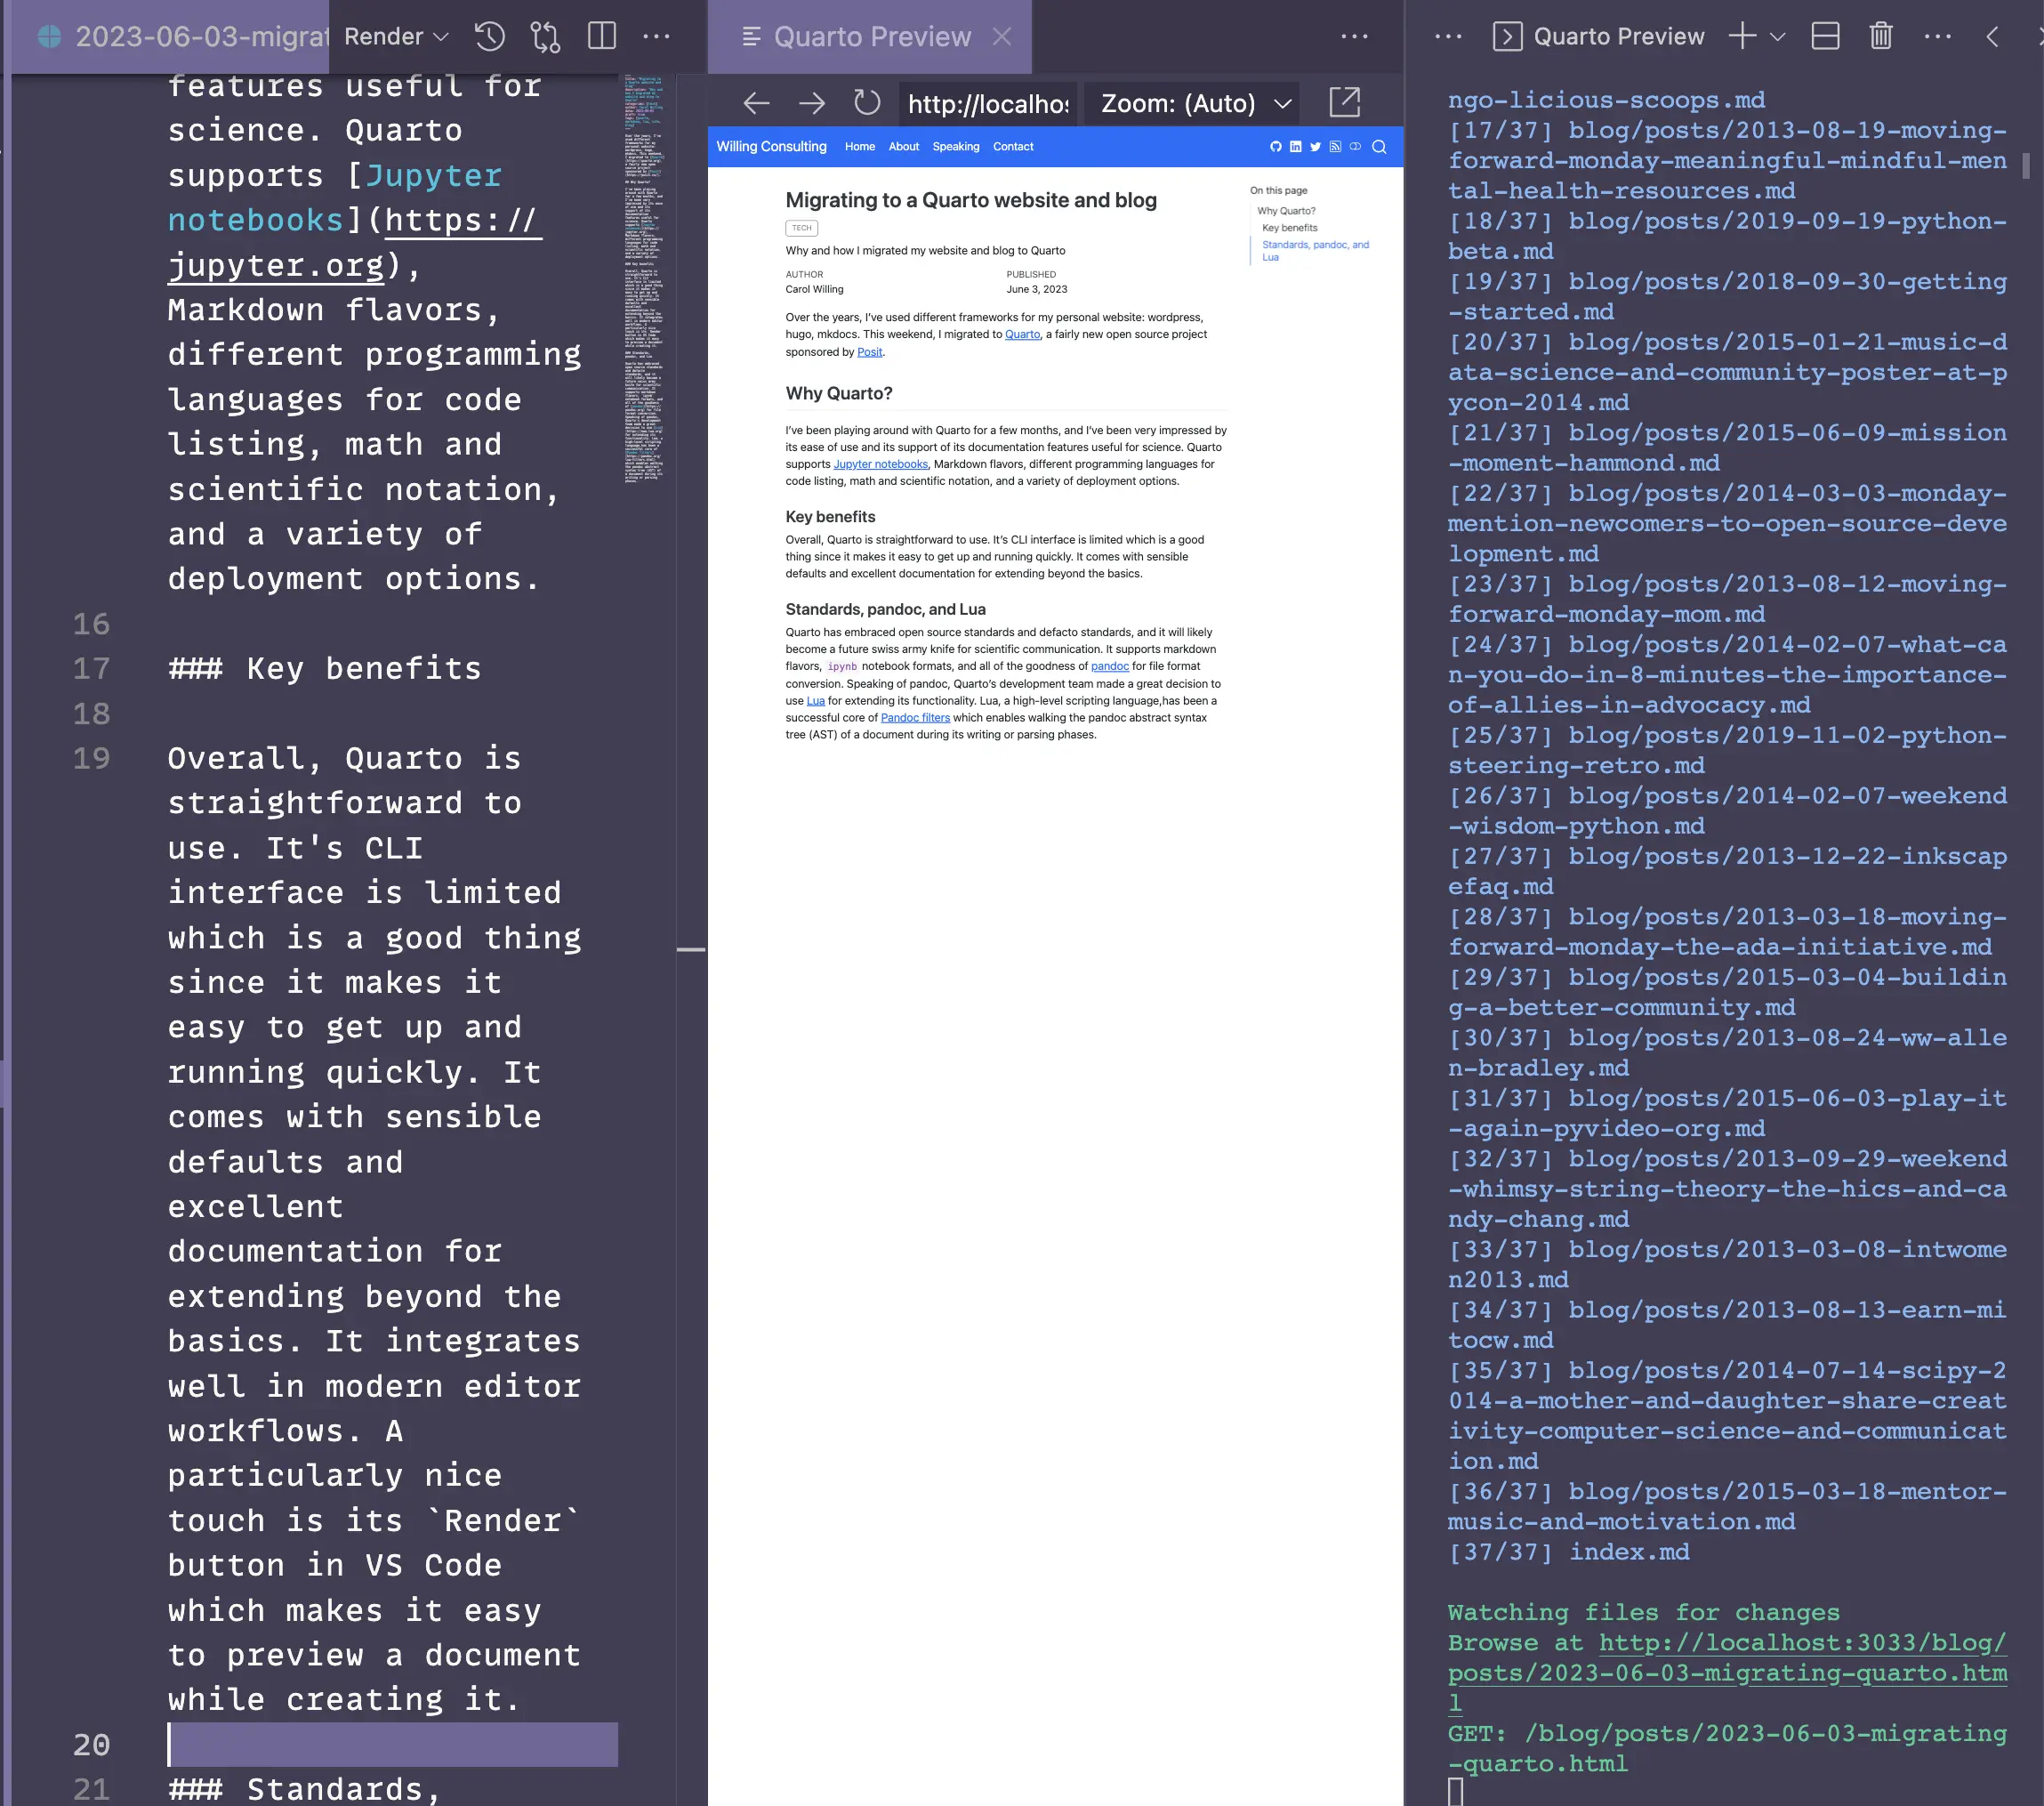
Over the years, I’ve used different frameworks for my personal website: wordpress, hugo, mkdocs. This weekend, I migrated to Quarto, a fairly new open source project sponsored by Posit.
Why Quarto?
I’ve been playing around with Quarto for a few months, and I’ve been very impressed by its ease of use and its support of its documentation features useful for science. Quarto supports Jupyter notebooks, Markdown flavors, different programming languages for code listing, math and scientific notation, and a variety of deployment options.
Key benefits
Overall, Quarto is straightforward to use. It’s CLI interface is limited which is a good thing since it makes it easy to get up and running quickly. It comes with sensible defaults and excellent documentation for extending beyond the basics. It integrates well in modern editor workflows. A particularly nice touch is its Render button in VS Code which makes it easy to preview a document while creating it.
Standards, pandoc, and Lua
Quarto has embraced open source standards and defacto standards, and it will likely become a future swiss army knife for scientific communication. It supports markdown flavors, .ipynb notebook formats, and all of the goodness of pandoc for file format conversion. Speaking of pandoc, Quarto’s development team made a great decision to use Lua for extending its functionality. Lua, a high-level scripting language,has been the preferred language for Pandoc filters which enable walking the pandoc abstract syntax tree (AST) of a document during its writing or parsing phases. Thoughtfully, Quarto’s devs have documented best practices for learning and using Lua for Quarto extensions.
Basic steps
Here are the high-level steps that I took to migrate my existing site to Quarto and host it on Netlify. I used my existing repo, created a migration branch, and then merged it into the main branch.
Installation
- Install Quarto from their website.
- Install the VS Code extension for Quarto and optionally Lua if you are interested in extensions development. If you use an editor other than VS Code, Quarto supports other integrations and has a basic CLI interface.
Configuration
- Creating a Quarto project was the next step. I wasn’t sure whether to select
websiteorblog. I chosewebsiteand decided that I could add the blog manually later. I followed Quarto’s docs. - Review the
_quarto.ymlconfiguration file. I made sure that I had aproject blockand an output directory:
---
project:
  type: website
  output-dir: _site
---- Install the quarto-social-embeds extension into
_extensionsdirectory to support shortcodes that were already in my existing markdown files.
Content migration
Copy my existing markdown files for a webpage into the root of the repo. I left them as
.mdfiles but I could have renamed them to.qmdfiles.Create a
staticdirectory for images and other static files.Create a
blogdirectory at the root of the repo. Also create apostsdirectory inside of theblogdirectory. Copy my exisitng markdown files into the posts directory. Again, I left them as.mdfiles but I could have renamed them to.qmdfiles. In theblogdirectory, I created anindex.qmdfile which will be the landing page for the blog. Theindex.qmdfile included this as content:
---
title: "Blog listing"
listing:
  contents: posts
  type: grid
  image-height: 200px
  image-placeholder: "../static/images/wallpaper_symbol.png"
  grid-columns: 3
  grid-item-border: true
  grid-item-align: left
  date-format: short
  feed: true
  filter-ui: true
  sort-ui: true
  sort: "date desc"
  categories: true
---
Metadata updates
- Next, I edited the metadata at the top of each blog post markdown file. Using the guide and reference docs, I added a title, author, date, and description. I also added a
draft: falseline to the metadata of each file that I wanted to publish. I also created a list of categories for each post.
An example of the metadata for this post is:
---
title: "Migrating to a Quarto website and blog"
description: "Why and how I migrated my website and blog to Quarto"
categories: [tech, quarto, markdown, lua, site, blog]
author: Carol Willing
date: 2023-06-03
draft: false
image: ../../static/images/2023/2023-06-03-quarto.webp
---- I also edited the web page markdown files to add a title and whether to display the sidebar on the page. For example on the Contact page:
---
title: "Contact"
sidebar: false
---Publishing
I published my site with Netlify and followed the excellent instructions in Quarto’s docs.
The current site is deployed at https://willingconsulting.com.
Next steps
I’m looking forward to exploring more of Quarto’s power. I plan to move some of my favorite Jupyter notebooks to my site as well as my personal cheatsheets.I also plan to set up an RSS feed for my blog.
I’m also interested in trying some of the other document formats that Quarto supports such as presentations, books, and papers. I also am looking into migrating my Obsidian files to a private Quarto site.
Conclusion
Migrating my site to Quarto was a fun afternoon project. Quarto’s documentation is excellent and helped me get up and running quickly. I’m looking forward to continue exploring this powerful communication tool.